
For my last project I had to build a documentation site to inform developers on the usage of an API I’ve built. I didn’t want to spend a ton of time setting up and managing the documentation website. Also I like to use the markdown format for writing documentation. As it helps you to focus on content instead of layout and markup.
During my search I came across nextra. It’s a static site generator built on top of nextjs. To get you started right away it offers two basic site templates. One for docs, the other for blogging. These themes are configurable, but if they don’t meet your needs you can build your own theme. That can be useful if you would like to build multiple documentation sites with the same branding and layout.
Setup of nextra
While it is possible to begin using nextra with the template repository, I chose to start from scratch. Often, these template repositories include boilerplate code and configuration. But surprisingly, starting from scratch was very easy! I recommend that you do the same and follow their four-step tutorial.
What they don’t mention in their tutorial is the initialization of a node package. Therefore, before starting with their steps, it might be wise to run npm init first. Then follow their steps. After completing their steps, you may want to add the following section to your package.json:
  "scripts": {
    "build": "next build",
    "start": "next start",
    "dev": "next dev"
  },
With these steps finished you’re ready to run your new docs site!
Configure nextra
There are most likely some general adjustments you would like to make to the default configuration. I’ve highlighted the most eye-catching areas that you should update.
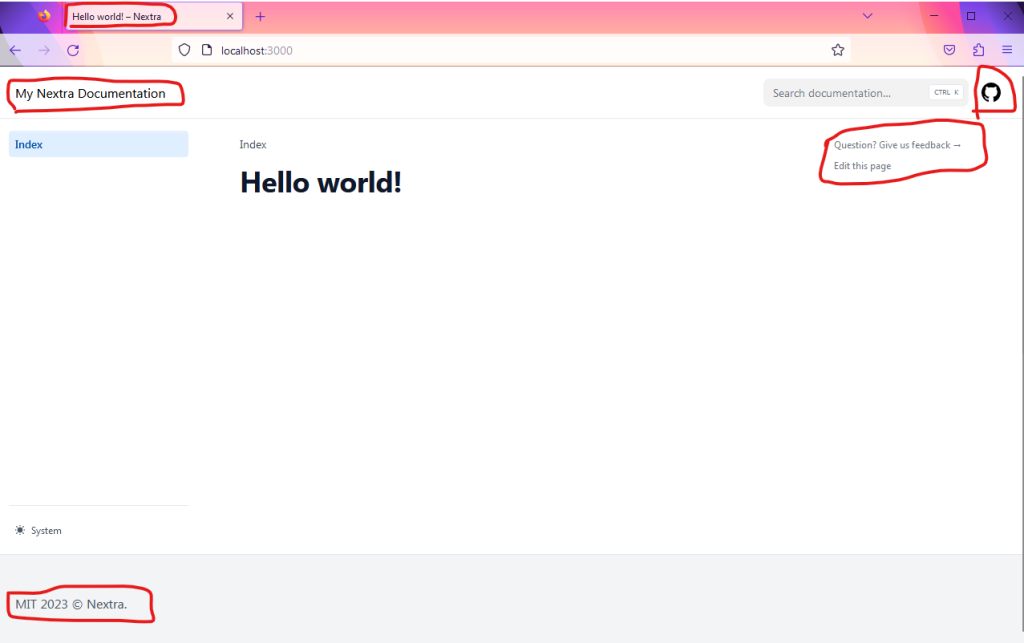
To update these areas you can take a look at this configuration example:
docsRepositoryBase sets the root url where your docs are hosted. It affects the links in the sidebar.project.link updates the link element of the github icon top right in the menu bar. Set the icon property to change the image.useNextSeoProps is a configuration that can take a function as a value to allow dynamic display values. For simple use cases, a fixed object with properties can be returned. In this instance, an object is returned with the titleTemplate property set to Docs - %s. The %s is replaced by nextra with the name of the current page the user is on.head is used to set the meta tags which are used on every page. You can verify these by inspecting the source of the page with your browser.footer is used to configure the footer contents. In this case, I have updated the default text.
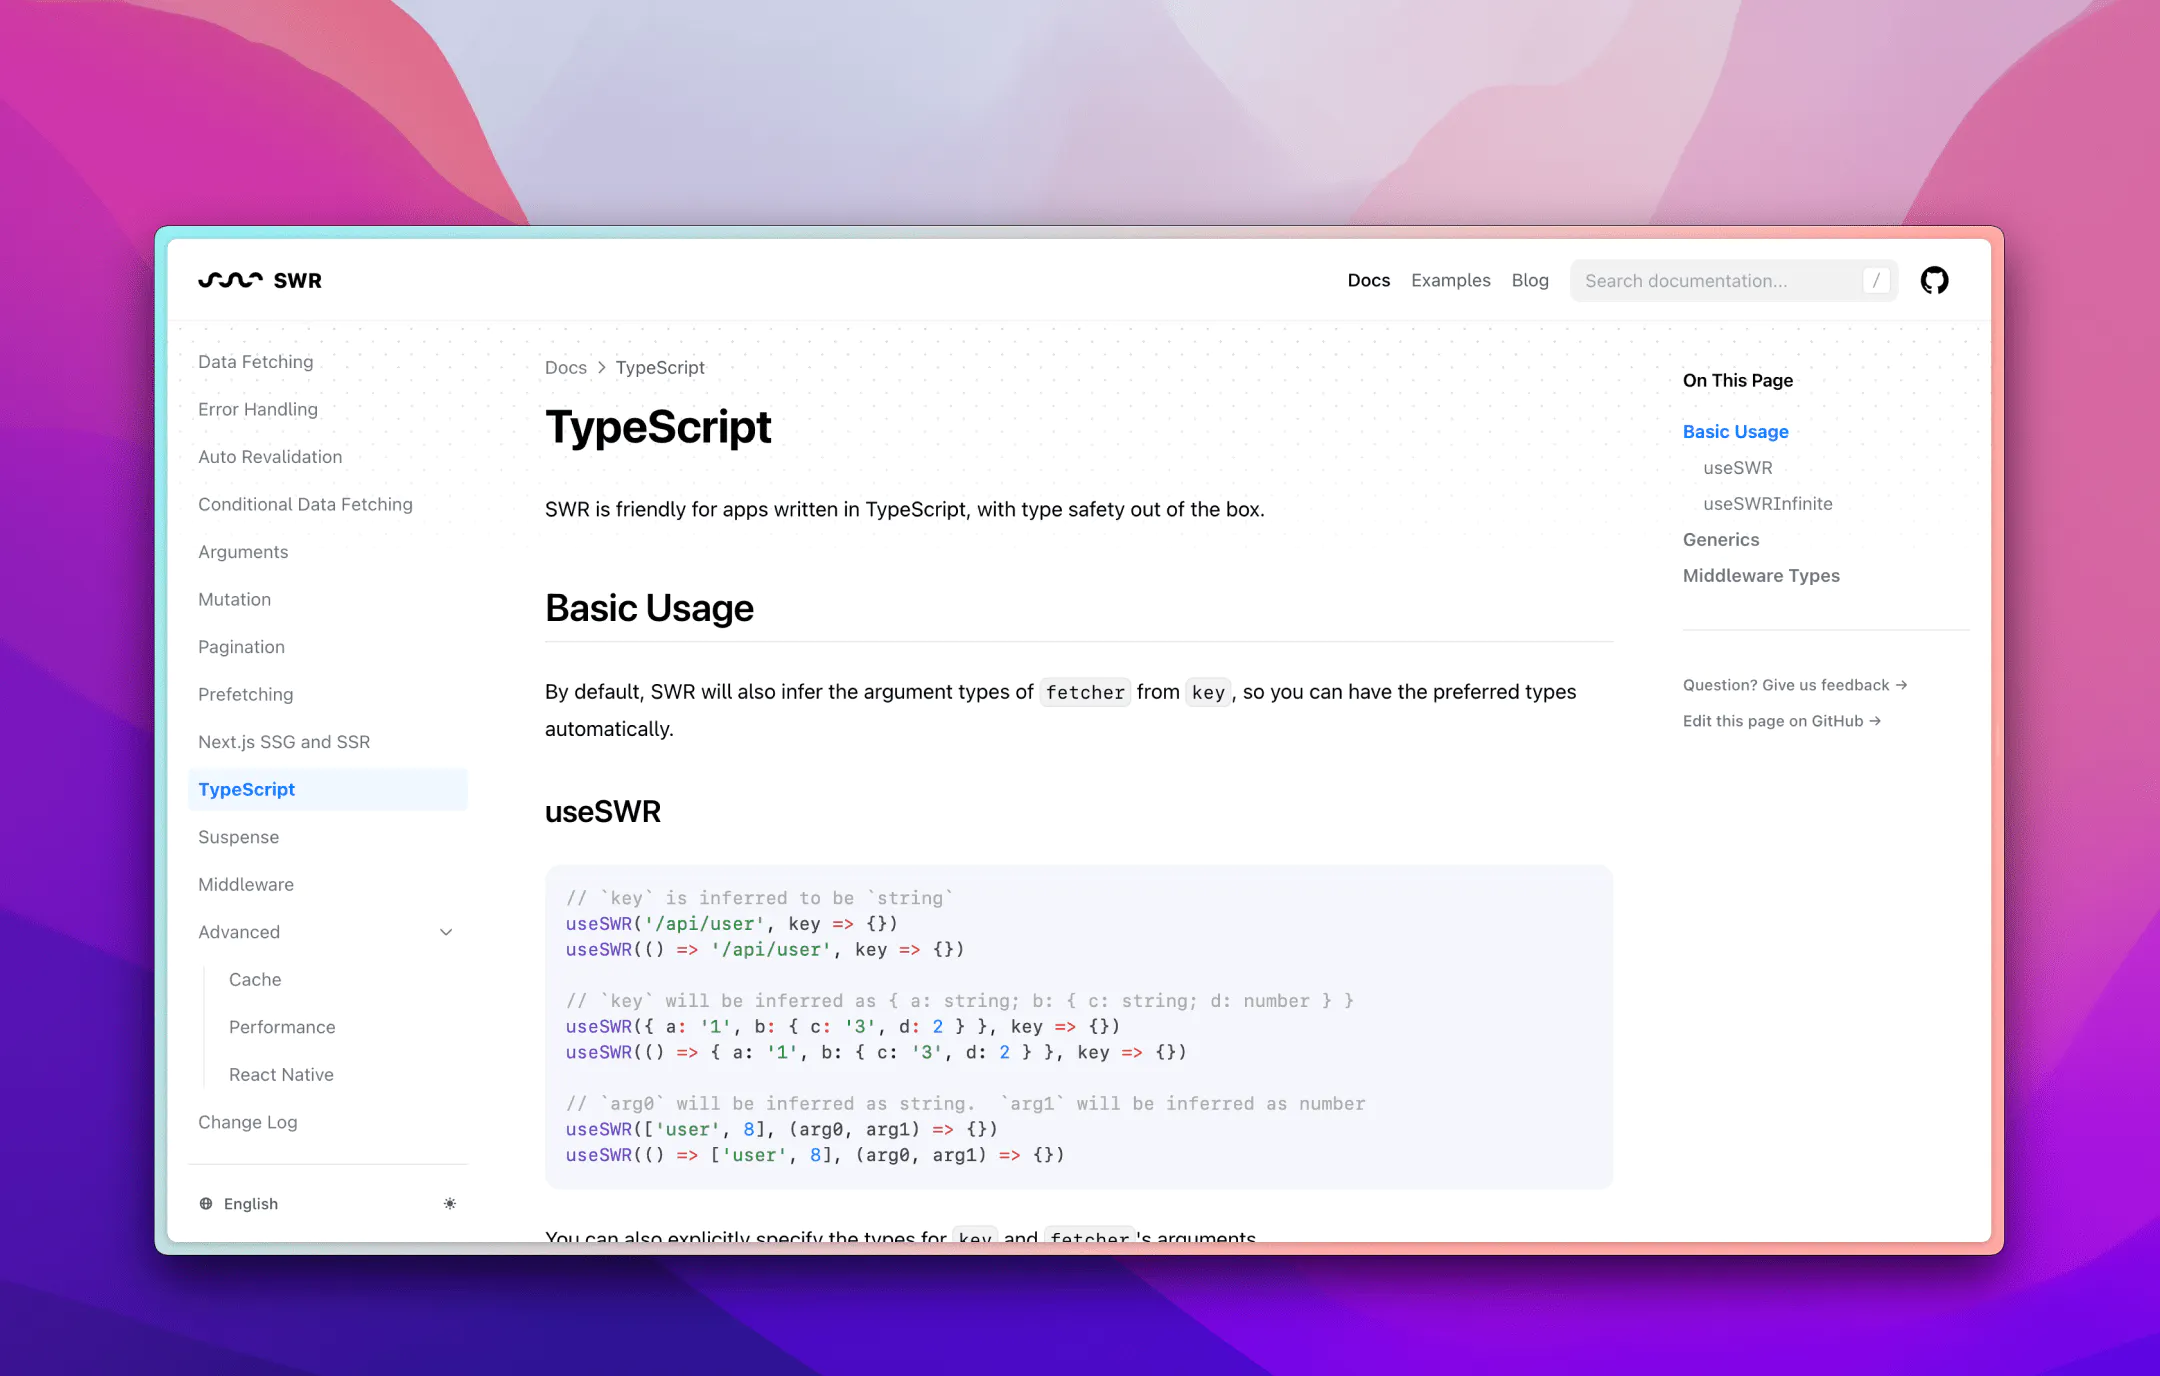
Many more configuration options are available and described in detail in the nextra docs. It’s great that the default theme is highly configurable. Moreover, it also looks elegant.
Writing documentation pages
If you’ve followed the ‘Get Started’ section at the beginning then you’ve already created a folder named pages/ with the index.md file. This actually introduces how you’re going to build documentation pages.
The filesystem is used to build up the routes! So introduction.md will translate to the url /introduction. And for sub-folders it works the same. If you’d create a folder named api and add a file named get-started.md it is reachable on /api/get-started. If you’d wanted the /api route to be accessible, you just need to create api.md at the same level as the api folder.
The name of the file is used as title in the navigational menus. This may not always be preferable, as there instances when you might want the display name to differ from the route path. It is possible to override the display name of pages by using a configuration file named _meta.json, which can be placed at any folder level where you want to define metadata.
How do this and much more, like adding top level menus and sidebar separators is described in the configuration docs.
Deployment of the documentation
Since nextra is built on top of next.js you can deploy your site anywhere that could also host a next.js app. Unfortunately it is not possible to create a static export of your site. This is because nextra uses the rewrites feature of next.js, in turn forcing a server to be available to handle rewrites.
For my project, I’ve opted to deploy to azure static web apps. This was convenient because my client hosts all their solution on azure. You can easily deploy directly from your developer machine or automate it with CI/CD options through GitHub Actions or Azure DevOps pipelines.
If you follow the mentioned walk-through, it is likely you will experience this error: The size of the function content was too large. The limit for this Static Web App is 104857600 bytes. This issue has been encountered by many and has been raised as an issue in the static web app repository. I won’t go into details here, but the solution is to delete some temporary files before the pipeline agent copies the files over to the static web app storage. To do this you need to add this configuration line:
api_build_command: 'rm -rf ./node_modules/@next/swc-* && rm -rf ./.next/cache'To the AzureStaticWebApp@0 task in your pipeline .yaml file.
Closing words
If you want, you can checkout my basic setup of a nextra blog. I hope you’ve discovered a great way to quickly build a documentation website without a lot of hassle! Please consider using nextra for your next documentation project.