
This article is part of a series on building a full stack application.
- Part 1: Introduction
- Part 2: Hasura Cloud and database
- Part 3: Setting up the IDP
- Part 4: Configuring the frontend (current)
- Part 5: Coding the frontend
Overview
In this segment, we’ll delve into configuring the frontend of the application using Next.js and Apollo Client, which will interact with your Hasura backend. Authentication will be facilitated through the Azure B2C SDK. Ensure you’ve completed the prerequisites outlined in the previous articles. Also, make sure that you’ve installed node dependencies by running (p)npm install in the frontend folder.
Today’s agenda includes:
- Defining GraphQL queries.
- Generating code based on GraphQL schema and queries.
- Configuring the development environment.
- Understanding authentication.
- Understanding Apollo Client.
- Running the application.
Defining GraphQL queries
For starters, we’ll generate application code based on the GraphQL schema and queries. This phase involves writing queries, mutations, and subscriptions that align with the data structure. Within the frontend folder of the fullstack-app repository, you’ll locate a directory named schema. This directory stores GraphQL queries for the application, organized in various *.graphql files, already prepared by me for the initial setup.
Feel free to explore some of these files to grasp their contents. If you wish to tailor a query, you can do so within these files. For instance, if you intend to include a new query for fetching a list of movies, simply append it to the movies.graphql file. You also have the possibility to create new files. In order to evaluate and validate your queries, navigate to the Hasura console and access the API tab. As outlined in part 2 of this series, you’ve generated the URL for your Hasura console. Copy and paste the queries into the GraphiQL playground for testing. To learn and understand GraphQL, I highly recommend the GraphQL documentation.
Generating code based on GraphQL schema and queries
We’ll use @graphql-codegen/cli to generate code based on your GraphQL schema and queries, enabling the incorporation of strongly typed code into the application. This tool is configurable via a settings object, and you’ll find the configuration in the config folder in a file named codegen.ts.
Although the configuration is pre-prepared for the initial setup, you need to adjust the first schema entry. Substitute the object key with the URL to your Hasura Cloud project, transforming https://movie-database.hasura.app/v1/graphql to https://{your-project-name}.hasura.app/v1/graphql. Additionally, replace the x-hasura-admin-secret setting with the admin secret obtained from the project settings page of your Hasura Cloud project.
The configuration also encompasses settings for documents and generates. The documents entry specifies the location of GraphQL queries, while generates designates the output location for the generated code. The resulting code will reside in the ./src/core/generated/graphql.tsx folder. The generated code will be used in the application to interact with the Hasura backend. Remember to rerun code generation each time you modify or add .graphql files to the sources defined in documents.
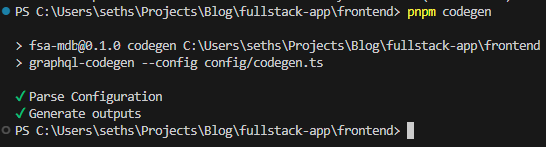
After updating the configuration, execute the following command in the command line to run the code generator:
(p)npm run codegen
The code generation should run successfully.
Configuring the development environment
Inside the frontend folder is a file called .env. Copy this file and rename it to .env.local. Open it and fill out the following environment variables with the values you’ve determined in the previous articles:
ADMIN_SECRET={admin-secret}
NEXT_PUBLIC_HASURA_HTTP=https://{your-project-name}.hasura.app/v1/graphql
NEXT_PUBLIC_HASURA_WS=wss://{your-project-name}.hasura.app/v1/graphql
NEXT_PUBLIC_AD_AUTHORITY=https://{your-tenant}.b2clogin.com/{your-tenant}.onmicrosoft.com/{signup-signin-policy-name}
NEXT_PUBLIC_AD_CLIENTID={client-id-guid}
Understanding authentication
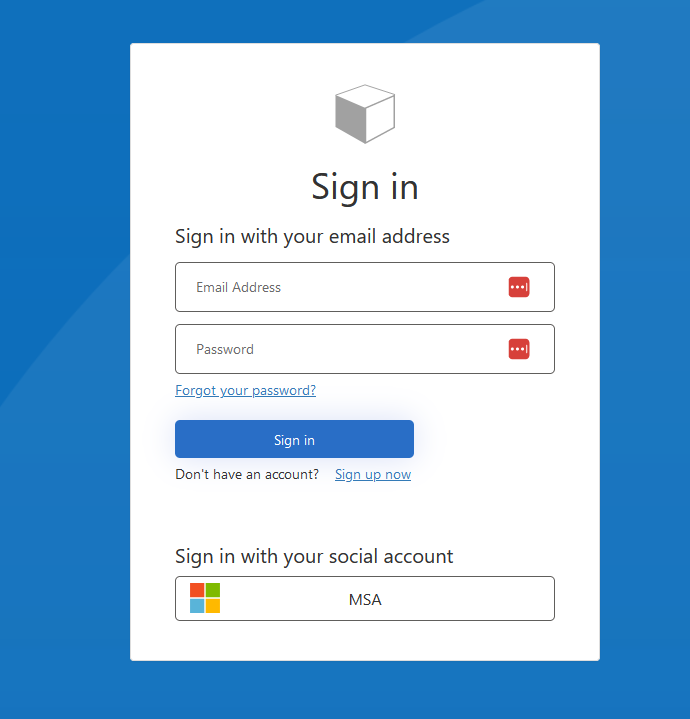
The reference application uses @azure/msal-browser to manage user authentication with your Azure B2C tenant. The library’s configuration is housed in the src/core/authProvider.ts file. This file contains fundamental settings, enabling users to sign up and sign in to the application. Social logins can be configured via Entra Id. Visit part 3 of this series to learn more about configuring Entra Id. Lastly, the MSAL instance is exported from this file. This allows us to use the MSAL instance in your application.
Within frontend/src/pages/_app.tsx, you’ll find code utilizing the MSAL instance created in authProvider.ts. The Log In button triggers the login process upon click, invoking the loginRedirect method. This method redirects the user to the Azure B2C login page. After successful login, the user is redirected back to the application, and the browser’s cookies and local storage are updated accordingly. The MSAL library automatically determines the login/logout state based on these values. If you encounter authentication issues, clearing cookies and local storage can reset the authentication state.
Now, msalInstance.getActiveAccount() will return the logged-in user. We leverage this method to ascertain the user’s login status. When the user is logged in, we attempt to request an API access token, storing it in the local application state. This access token can be used to make calls to the Hasura backend. Hasura will accept this token if we’ve configured it correctly. See article part 3 to verify your setup.
Understanding ApolloClient
The reference application utilizes @apollo/client to communicate with the Hasura backend. The client’s configuration is specified in the src/core/createApolloClient.ts file, where you can examine the various options with which Apollo Client is set up. In _app.tsx, the Apollo client is created and provided to Apollo Provider. This enables its use throughout the application.
Within components and views, we can invoke the previously generated code. These generated methods rely on Apollo Client to execute calls to the Hasura backend.
Running the application
Once you’ve followed these steps, you can run the application by executing the following command in the command line:
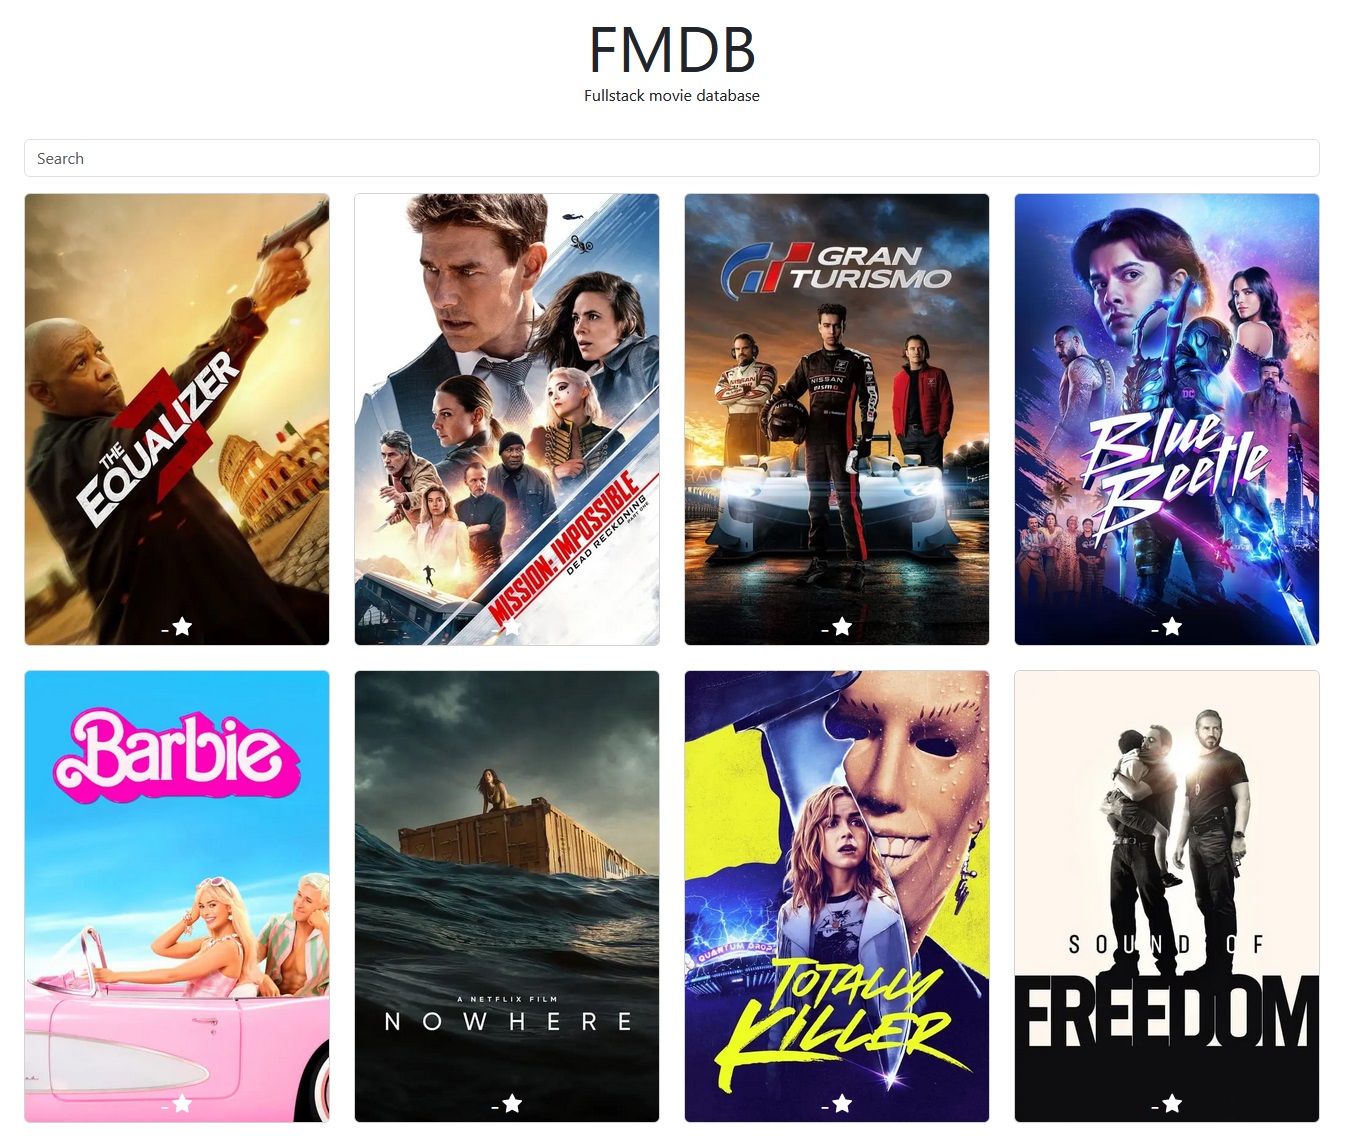
(p)npm run devOpen the web application locally, it should look like this:
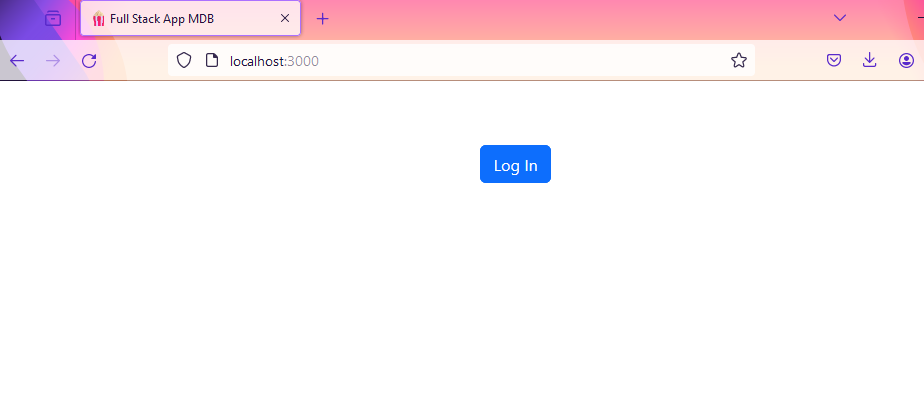
Try logging in, create a user and explore the application!
Conclusion
We have successfully configured and reviewed the frontend application. Moreover, we’ve run the project locally and viewed it’s UI. In the next article, we’ll delve into coding new features for the web application.
Parts
- Part 1: Introduction
- Part 2: Hasura Cloud and database
- Part 3: Setting up the IDP
- Part 4: Configuring the frontend (current)
- Part 5: Coding the frontend